 English
 Afrikaans
 العربية
 বাংলা
বাংলা bosanski jezik
 Български
 Català
 粤语
粤语 中文(简体)
 中文(漢字)
 Hrvatski
 Čeština
 Nederlands
 Eesti keel
 Suomi
Suomi Français
 Deutsch
 Ελληνικά
 हिन्दी; हिंदी
 Magyar
 Bahasa Indonesia
 Italiano
 日本語
日本語 한국어
한국어 Latviešu valoda
 Lietuvių kalba
 македонски јазик
 Bahasa Melayu
 Norsk
Norsk پارسی
پارسی Polski
 Português
 Română
 Русский
 Cрпски језик
 Slovenčina
 Slovenščina
 Español
 Svenska
 ภาษาไทย
 Türkçe
 Українська
 اردو
اردو Tiếng Việt

Нудимо широк спектар најбољих 1-Вире ДС18Б20 сензорских конектора, укључујући Нанофлек, ДисплаиПорт, УСБ, Солар, САТА, ХДМИ, ТО ЈЕ ИДЕЈА, САС & много више. Сви каблови су произведени по највишим индустријским стандардима. Коришћење склопа сензорског кола за прављење кутија омогућава вам да се фокусирате на свој дизајн и маркетинг, смањити трошкове, и искористите предности наших монтажних линија, КА процеси, и стручност у производњи.
Сензор ДС18Б20 комуницира помоћу “1-Жица” протокола, што значи да користи једну линију података за сву комуникацију са микроконтролером, омогућавајући више сензора да буду повезани на истој линији и идентификовани по њиховом јединственом 64-битном серијском коду; ова појединачна линија података се повлачи високо помоћу отпорника и сензор преноси податке тако што повлачи линију ниско током одређених временских интервала да би послао битове информација.
Сензор температуре ДС18Б20: Водоотпорна сонда ДС18Б20 је дизајнирана за подводну употребу, способан да ради у влажном или влажном окружењу без оштећења водом или влагом.
Напон напајања сензора температуре: 3.0В ~ 5,25 В;
Опсег радне температуре:-55 ℃ до +125 ℃ (-67 ℉ то +257 ℉);
Обезбеђује мерења температуре од 9 до 12 бита Целзијуса;
Адаптерски модул је опремљен пулл-уп отпорником, и директно се повезује на ГПИО Распберри Пи без екстерног отпорника;
Користите овај комплет адаптерских модула да поједноставите повезивање водоотпорног температурног сензора на ваш пројекат.
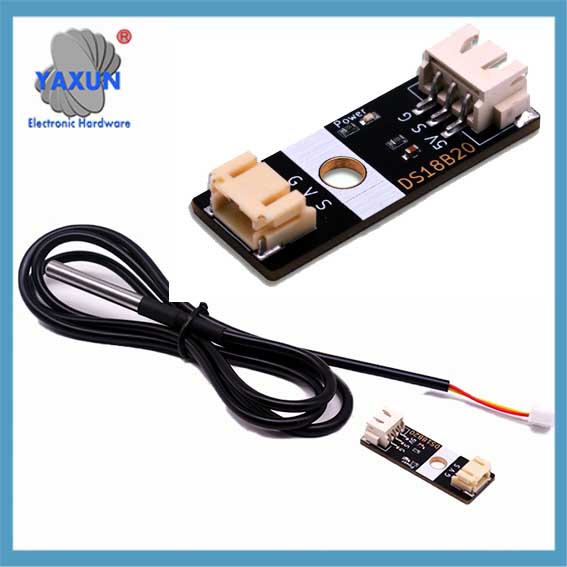 ДС18Б20 дигитална сонда температурног сензора & КСХ2.54 до ПХ2.0 модула |
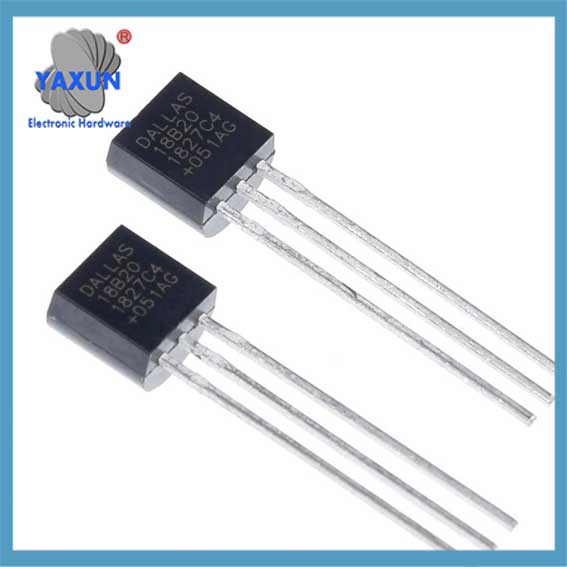 Кинески температурни сензор ДС18Б20 за аквизицију чипа ТО-92 |
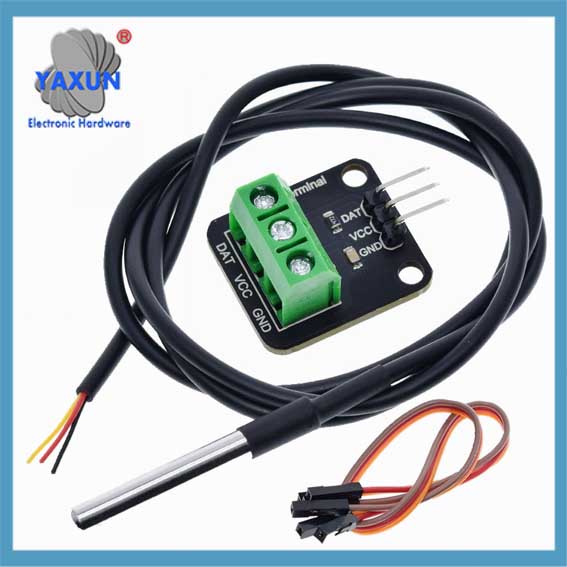 ДС18Б20 сензор температуре 1-жични водоотпорни кабл + сет адаптерских плоча |
1. Кључне тачке о 1-Вире протоколу:
Једна линија података:
За комуникацију између сензора и микроконтролера потребна је само једна жица.
Полудуплекс комуникација:
Подаци се могу слати у оба смера, али само у једном правцу.
Моћ паразита:
ДС18Б20 се може напајати директно са линије података током комуникације, елиминишући потребу за посебним напајањем у неким случајевима.
Јединствене адресе уређаја:
Сваки сензор ДС18Б20 има јединствени 64-битни серијски код који омогућава микроконтролеру да идентификује и адресира појединачне сензоре на магистрали.
Кораци комуникације са ДС18Б20:
1.1 Ресетујте пулс:
Микроконтролер покреће комуникацију тако што повлачи линију података на ниско за одређено време (ресетовање пулса).
1.2 Пулс присутности:
Ако је ДС18Б20 присутан у магистрали, одговориће кратким пулсом, што указује на његово присуство.
1.3 РОМ команда:
Микроконтролер шаље РОМ команду за читање јединственог 64-битног кода одређеног сензора (“Матцх РОМ”) или за адресирање свих сензора на магистрали (“Прескочи РОМ”).
1.4 Команда функције:
У зависности од жељене операције (попут очитавања температуре), микроконтролер шаље сензору одређену команду функције.
1.5 Пренос података:
Подаци се преносе бит по бит, са сензором који повлачи линију података ниско да пошаље а ‘0’ и пустити линију да иде високо да пошаље '1'.
2. Детаљно објашњење 1-Вире комуникационог протокола ДС18Б20
Разлог зашто се сензори ДС18Б20 широко користе је у великој мери због његовог јединственог комуникационог протокола – 1-Жичан комуникациони протокол. Овај протокол поједностављује захтеве за хардверске везе и обезбеђује ефикасан начин за пренос података. Ово поглавље ће детаљно анализирати механизам рада и процес размене података једнолинијског комуникационог протокола како би се поставила чврста основа за каснију праксу програмирања.
2.1 Основе 1-Вире комуникационог протокола
2.1.1 Карактеристике 1-Вире комуникационог протокола:
ДС18Б20 1-Вире Цоммуницатион Протоцол се такође назива “сингле бус” технологије. Има следеће карактеристике: – Комуникација са једним аутобусом: За двосмерни пренос података користи се само једна линија података, што у великој мери смањује сложеност ожичења у поређењу са традиционалном методом комуникације сензора са више жица. – Веза са више уређаја: Подржава повезивање више уређаја на једној магистрали података, и идентификује и комуницира преко идентификационих кодова уређаја. – Мала потрошња енергије: Током комуникације, уређај може бити у стању приправности мале енергије када не учествује у комуникацији. – Висока прецизност: Са краћим временом преноса података, може смањити спољне сметње и побољшати тачност података.
2.1.2 Формат података и анализа времена 1-жичне комуникације
Формат података 1-вире комуникационог протокола прати одређено временско правило. Укључује време иницијализације, време писања и време читања:
Тајминг иницијализације: Домаћин прво покреће време детекције присуства (Пулс присутности) повлачењем аутобуса на одређено време, а сензор затим шаље импулс присутности као одговор.
Напишите тајминг: Када домаћин пошаље време писања, прво повуче аутобус за око 1-15 микросекунде, затим пушта аутобус, и сензор повлачи сабирницу 60-120 микросекунде за одговор.
Прочитајте тајминг: Домаћин обавештава сензор да пошаље податке тако што повуче сабирницу и отпусти је, а сензор ће дати бит података на магистралу након одређеног кашњења.
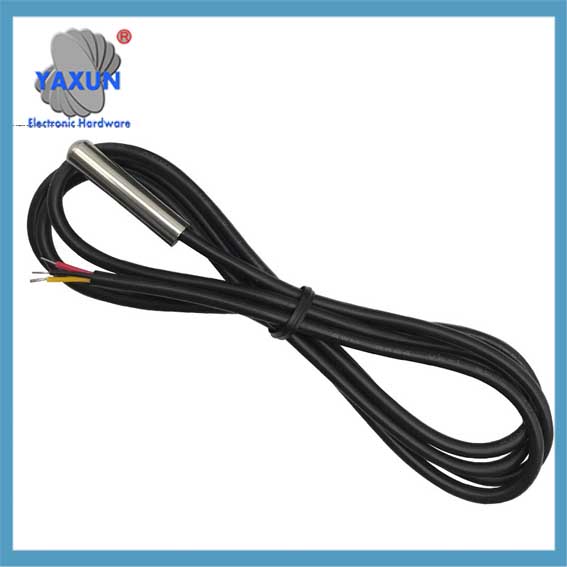 Аналог Девицес ДС18Б20+, МАКСИМ 1-жични дигитални термометар програмибилне резолуције |
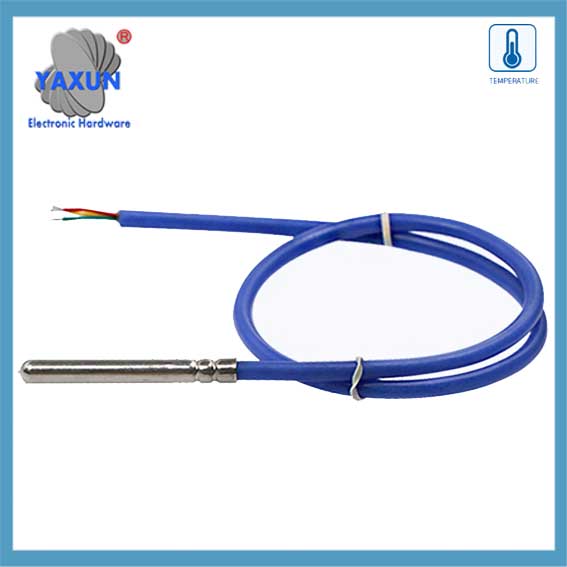 ДС18Б20 12-битни 1-жични дигитални температурни сензор са 1 Метер Цабле |
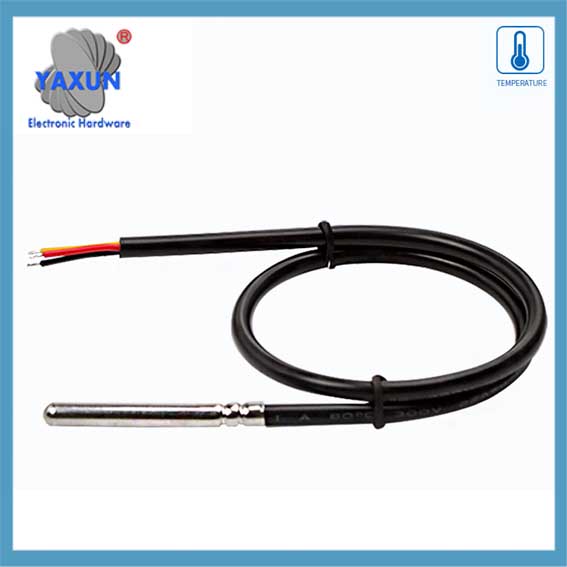 ДС18Б20 сензорска сонда намењена прикупљању температуре и влажности у хладњачи хладног ланца |
2.2 Софтверска имплементација комуникације података
2.2.1 Иницијализација и ресетовање 1-линијске комуникације
На нивоу софтвера, иницијализација и ресетовање 1-Вире комуникације је први корак комуникације. Следи псеудо код за имплементацију овог процеса:
// Функција иницијализације комуникације ОнеВире
воид ОнеВире_Инит() {
// Подесите магистралу на улазни режим и омогућите пулл-уп отпорник
СетПинМоде(ДС18Б20_ПИН, ИНПУТ_ПУЛЛУП);
// Сачекајте да аутобус мирује
ДелаиМицросецондс(1);
// Пошаљите импулс за ресетовање
ОнеВире_Ресет();
}
// ОнеВире комуникацијска функција ресетовања
воид ОнеВире_Ресет() {
// Повуци аутобус
СетПинМоде(ДС18Б20_ПИН, ОУТПУТ_ЛОВ);
ДелаиМицросецондс(480);
// Пусти аутобус
СетПинМоде(ДС18Б20_ПИН, ИНПУТ_ПУЛЛУП);
ДелаиМицросецондс(70);
// Сачекајте присуство пулса
ако (!ВаитФорОнеВиреПресенце())
// Није детектован пулс, можда сензор није повезан или иницијализација није успела
ХандлеЕррор();
ДелаиМицросецондс(410);
}
// Чека се присуство пулса
боол ВаитФорОнеВиреПресенце() {
врати РеадПин(ДС18Б20_ПИН) == 0; // Претпоставимо да је низак ниво присуство сигнала
}
2.2.2 Операције читања и писања података
Операције читања и писања података су основни део сензорске комуникације. Следећи код показује како написати бајт у једножичну магистралу:
// Упишите бајт у једножичну магистралу
воид ОнеВире_ВритеБите(бајт података) {
за (инт и = 0; и < 8; и++) {
ОнеВире_ВритеБит(података & 0к01);
података >>= 1;
}
}
// Напиши мало на једножичну магистралу
воид ОнеВире_ВритеБит(битни подаци) {
СетПинМоде(ДС18Б20_ПИН, ОУТПУТ_ЛОВ);
ако (података) {
// Пустите сабирницу када пишете 1
СетПинМоде(ДС18Б20_ПИН, ИНПУТ_ПУЛЛУП);
ДелаиМицросецондс(1);
} друго {
// Наставите да вучете аутобус ниско када пишете 0
ДелаиМицросецондс(60);
}
СетПинМоде(ДС18Б20_ПИН, ИНПУТ_ПУЛЛУП);
ДелаиМицросецондс(1);
}
Следећа је функција за читање бајта:
// Прочитај бајт са једножичне магистрале
бајт ОнеВире_РеадБите() {
бајт подаци = 0;
за (инт и = 0; и < 8; и++) {
података >>= 1;
ако (ОнеВире_РеадБит())
података |= 0к80;
}
врати податке;
}
// Прочитајте мало из једножичне магистрале
бит ОнеВире_РеадБит() {
СетПинМоде(ДС18Б20_ПИН, ОУТПУТ_ЛОВ);
СетПинМоде(ДС18Б20_ПИН, ИНПУТ_ПУЛЛУП);
ДелаиМицросецондс(3);
боол резултат = РеадПин(ДС18Б20_ПИН);
ДелаиМицросецондс(57);
врати резултат;
}
2.2.3 Механизам верификације ОнеВире комуникације
Комуникациони протокол ОнеВире користи једноставан механизам верификације у процесу размене података, обично читањем писаних података да би се проверила тачност података. Следи пример кода за проверу писаних података:
бајт подаци = 0к55; // Претпоставимо да су подаци који се шаљу
ОнеВире_ВритеБите(података); // Упишите податке у ОнеВире магистралу
бајт реадДата = ОнеВире_РеадБите(); // Читајте податке са ОнеВире магистрале
ако (реадДата != подаци) {
ХандлеЕррор(); // Ако се поново прочитани подаци не поклапају са писаним подацима, решити грешку