 English
 Afrikaans
 العربية
 বাংলা
বাংলা bosanski jezik
 Български
 Català
 粤语
粤语 中文(简体)
 中文(漢字)
 Hrvatski
 Čeština
 Nederlands
 Eesti keel
 Suomi
Suomi Français
 Deutsch
 Ελληνικά
 हिन्दी; हिंदी
 Magyar
 Bahasa Indonesia
 Italiano
 日本語
日本語 한국어
한국어 Latviešu valoda
 Lietuvių kalba
 македонски јазик
 Bahasa Melayu
 Norsk
Norsk پارسی
پارسی Polski
 Português
 Română
 Русский
 Cрпски језик
 Slovenčina
 Slovenščina
 Español
 Svenska
 ภาษาไทย
 Türkçe
 Українська
 اردو
اردو Tiếng Việt
We offer a wide range of the best 1-Wire DS18B20 sensor connectors, including Nanoflex, DisplayPort, USB, Solar, SATA, HDMI, ATA IDE, SAS & many more. All cables are manufactured to the highest industry standards. Using Sensor Circuit Assembly for box builds allows you to focus on your design and marketing, reduce costs, and reap the benefits of our assembly lines, QA processes, and manufacturing expertise.
Senzor DS18B20 komunicira pomoću “1-Žica” protokol, što znači da koristi jednu podatkovnu liniju za svu komunikaciju s mikrokontrolerom, što omogućuje povezivanje više senzora na istu liniju i identificiranje njihovim jedinstvenim 64-bitnim serijskim kodom; ova jedina podatkovna linija se povlači visoko pomoću otpornika i senzor prenosi podatke povlačenjem linije nisko tijekom određenih vremenskih odsječaka za slanje bitova informacija.
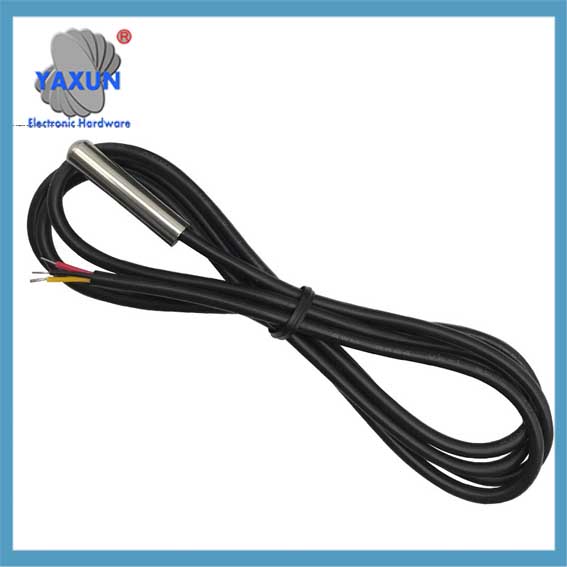
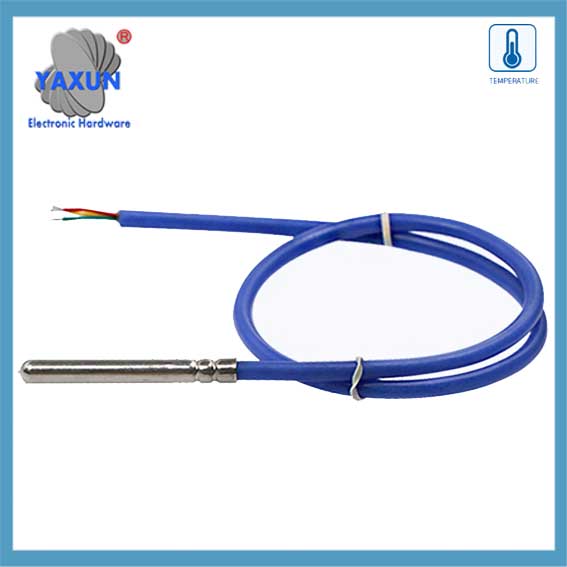
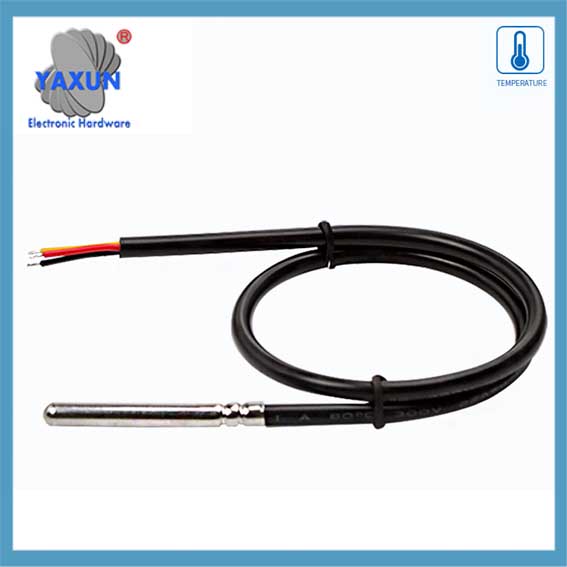
DS18B20 senzor temperature: The DS18B20 waterproof probe is designed for underwater use, capable of operating in wet or moist environments without being damaged by water or moisture.
Temperature sensor supply voltage: 3.0V ~ 5.25V;
Raspon radne temperature:-55 ℃ +125 ℃ (-67 ℉ to +257 ℉);
Provides from 9-bit to 12-bit Celsius temperature measurements;
Adapter module is equipped with a pull-up resistor, and directly connects to the GPIO of the Raspberry Pi without an external resistor;
Use this adapter module kit to simplify connecting the waterproof temperature sensor to your project.
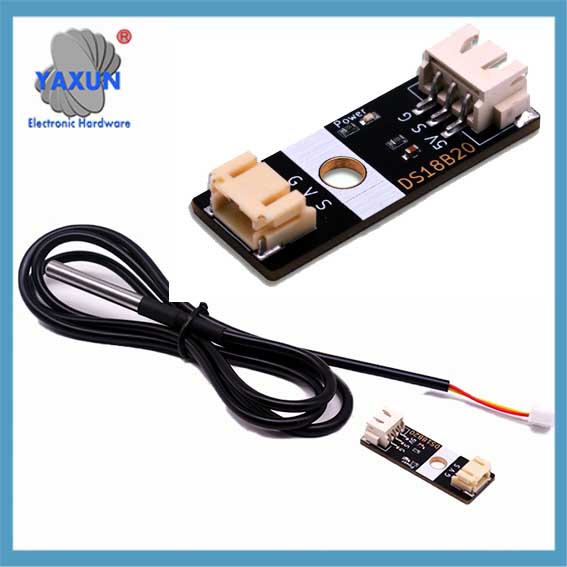 DS18B20 digitalna sonda senzora temperature & XH2.54 to PH2.0 module |
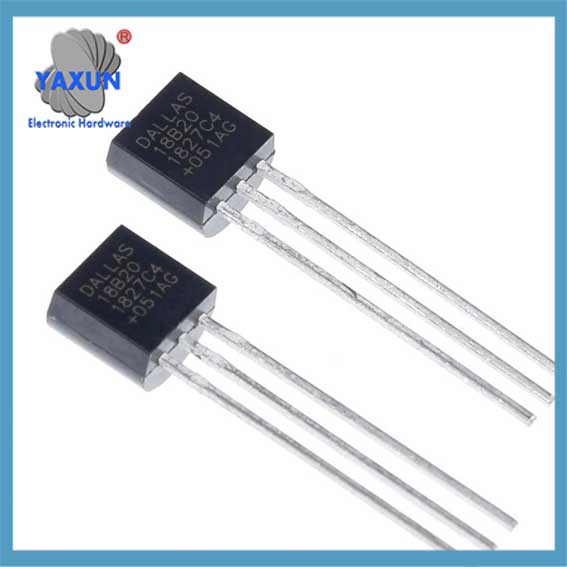 China-made DS18B20 chip temperature acquisition TO-92 temperature sensor |
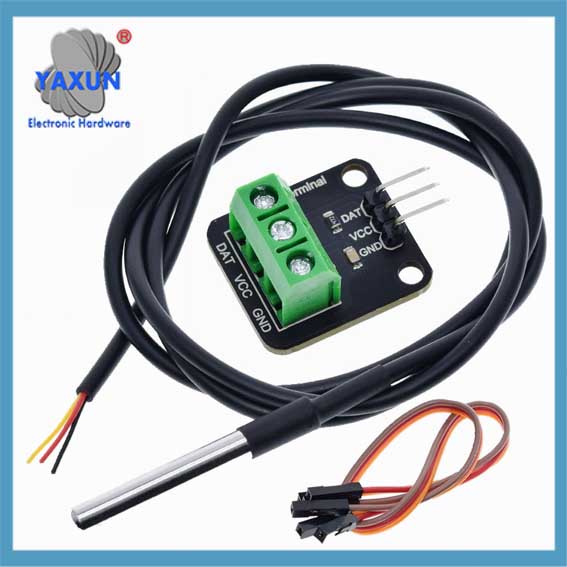 DS18B20 senzor temperature 1-žilni vodootporni kabel + set adapterskih ploča |
1. Key points about the 1-Wire protocol:
Single data line:
Only one wire is needed for communication between the sensor and the microcontroller.
Half-duplex communication:
Data can be sent in both directions, but only one direction at a time.
Parasite power:
The DS18B20 can be powered directly from the data line during communication, eliminating the need for a separate power supply in some cases.
Unique device addresses:
Each DS18B20 sensor has a unique 64-bit serial code that allows the microcontroller to identify and address individual sensors on the bus.
Communication steps with a DS18B20:
1.1 Reset pulse:
The microcontroller initiates communication by pulling the data line low for a specific duration (reset pulse).
1.2 Presence pulse:
If a DS18B20 is present on the bus, it will respond with a short pulse, indicating its presence.
1.3 ROM naredba:
The microcontroller sends a ROM command to either read the unique 64-bit code of a specific sensor (“Podudaranje ROM-a”) or to address all sensors on the bus (“Preskoči ROM”).
1.4 Function command:
Depending on the desired operation (like reading temperature), the microcontroller sends a specific function command to the sensor.
1.5 Data transfer:
Data is transmitted bit-by-bit, with the sensor pulling the data line low to send a ‘0’ and letting the line go high to send a ‘1’.
2. Detaljno objašnjenje protokola komunikacije DS18B20
Razlog zašto se senzori DS18B20 naširoko koriste uglavnom je posljedica jedinstvenog komunikacijskog protokola – 1-Protokol za žičanu komunikaciju. Ovaj protokol pojednostavljuje zahtjeve za hardverske veze i pruža učinkovit način za prijenos podataka. Ovo će poglavlje duboko analizirati radnu mehanizam i postupak razmjene podataka u 1-linijskom komunikacijskom protokolu kako bi postavio solidan temelj za naknadnu programiranje.
2.1 Osnove protokola komunikacije od 1 žice
2.1.1 Značajke protokola komunikacije od 1 žice:
DS18B20 se također naziva komunikacijski protokol “s jednim autobusom” tehnologija. Ima sljedeće značajke: – Pojedinačna komunikacija sa autobusom: Za dvosmjerni prijenos podataka koristi se samo jedna podatkovna linija, što uvelike smanjuje složenost ožičenja u usporedbi s tradicionalnom višenamjenskom metodom komunikacije senzora. – Veza s više uređaja: Podržava povezivanje više uređaja na jednoj sabirnici podataka, te identificira i komunicira putem identifikacijskih kodova uređaja. – Mala potrošnja energije: Tijekom komunikacije, Uređaj može biti u stanju pripravnosti male snage kada ne sudjeluje u komunikaciji. – Visoka preciznost: S kraćim vremenom prijenosa podataka, Može smanjiti vanjske smetnje i poboljšati točnost podataka.
2.1.2 Format podataka i vremenska analiza jednožične komunikacije
Format podataka komunikacijskog protokola od 1 žice slijedi određeno pravilo vremena. Uključuje vrijeme inicijalizacije, napisati vrijeme i čitati vrijeme:
Inicijalizacija vremena: Domaćin prvo započinje vrijeme otkrivanja prisutnosti (Impuls) povlačenjem autobusa određeno vrijeme, a senzor tada šalje puls prisutnosti u odgovoru.
Pisati vrijeme: Kad domaćin pošalje vrijeme pisanja, Prvo se povuče u autobus za otprilike 1-15 mikrosekundi, zatim pušta autobus, I senzor se spušta niz autobus 60-120 Mikrosekundi za reagiranje.
Pročitajte vrijeme: Domaćin obavještava senzor za slanje podataka povlačenjem sabirnice i puštanjem, a senzor će nakon određenog kašnjenja iznijeti bit podataka na sabirnici.
 Analog Devices DS18B20+, MAXIM Programmable Resolution 1-Wire Digital Thermometer |
 DS18B20 12-bit 1-Wire Digital Temperature Sensor w/ 1 Meter Cable |
 DS18B20 sensor probe dedicated to temperature and humidity collection in cold chain cold storage |
2.2 Software implementation of data communication
2.2.1 Initialization and reset of 1-line communication
At the software level, initialization and reset of 1-Wire communication is the first step of communication. The following is the pseudo code to implement this process:
// OneWire communication initialization function
void OneWire_Init() {
// Set the bus to input mode and enable the pull-up resistor
SetPinMode(DS18B20_PIN, INPUT_PULLUP);
// Wait for the bus to be idle
DelayMicroseconds(1);
// Send a reset pulse
OneWire_Reset();
}
// OneWire communication reset function
void OneWire_Reset() {
// Pull down the bus
SetPinMode(DS18B20_PIN, OUTPUT_LOW);
DelayMicroseconds(480);
// Release the bus
SetPinMode(DS18B20_PIN, INPUT_PULLUP);
DelayMicroseconds(70);
// Wait for the presence of a pulse
ako (!WaitForOneWirePresence())
// No pulse was detected, maybe the sensor is not connected or the initialization failed
HandleError();
DelayMicroseconds(410);
}
// Waiting for the presence of a pulse
bool WaitForOneWirePresence() {
return ReadPin(DS18B20_PIN) == 0; // Assume low level is a signal presence
}
2.2.2 Data reading and writing operations
Data reading and writing operations are the core part of sensor communication. The following code shows how to write a byte to a one-wire bus:
// Write a byte to a one-wire bus
void OneWire_WriteByte(byte data) {
za (int i = 0; ja < 8; i++) {
OneWire_WriteBit(podaci & 0x01);
podaci >>= 1;
}
}
// Write a bit to a one-wire bus
void OneWire_WriteBit(bit data) {
SetPinMode(DS18B20_PIN, OUTPUT_LOW);
ako (podaci) {
// Release the bus when writing 1
SetPinMode(DS18B20_PIN, INPUT_PULLUP);
DelayMicroseconds(1);
} drugo {
// Continue to pull the bus low when writing 0
DelayMicroseconds(60);
}
SetPinMode(DS18B20_PIN, INPUT_PULLUP);
DelayMicroseconds(1);
}
Next is the function to read a byte:
// Read a byte from the one-wire bus
byte OneWire_ReadByte() {
byte data = 0;
za (int i = 0; ja < 8; i++) {
podaci >>= 1;
ako (OneWire_ReadBit())
podaci |= 0x80;
}
vratiti podatke;
}
// Read a bit from the one-wire bus
bit OneWire_ReadBit() {
SetPinMode(DS18B20_PIN, OUTPUT_LOW);
SetPinMode(DS18B20_PIN, INPUT_PULLUP);
DelayMicroseconds(3);
bool result = ReadPin(DS18B20_PIN);
DelayMicroseconds(57);
return result;
}
2.2.3 Verification mechanism of OneWire communication
The OneWire communication protocol uses a simple verification mechanism in the data exchange process, usually by reading back the written data to verify the correctness of the data. The following is a sample code for verifying the written data:
byte data = 0x55; // Assume that the data to be sent
OneWire_WriteByte(podaci); // Write data to the OneWire bus
byte readData = OneWire_ReadByte(); // Read back data from the OneWire bus
ako (readData != data) {
HandleError(); // If the read-back data does not match the written data, handle the error